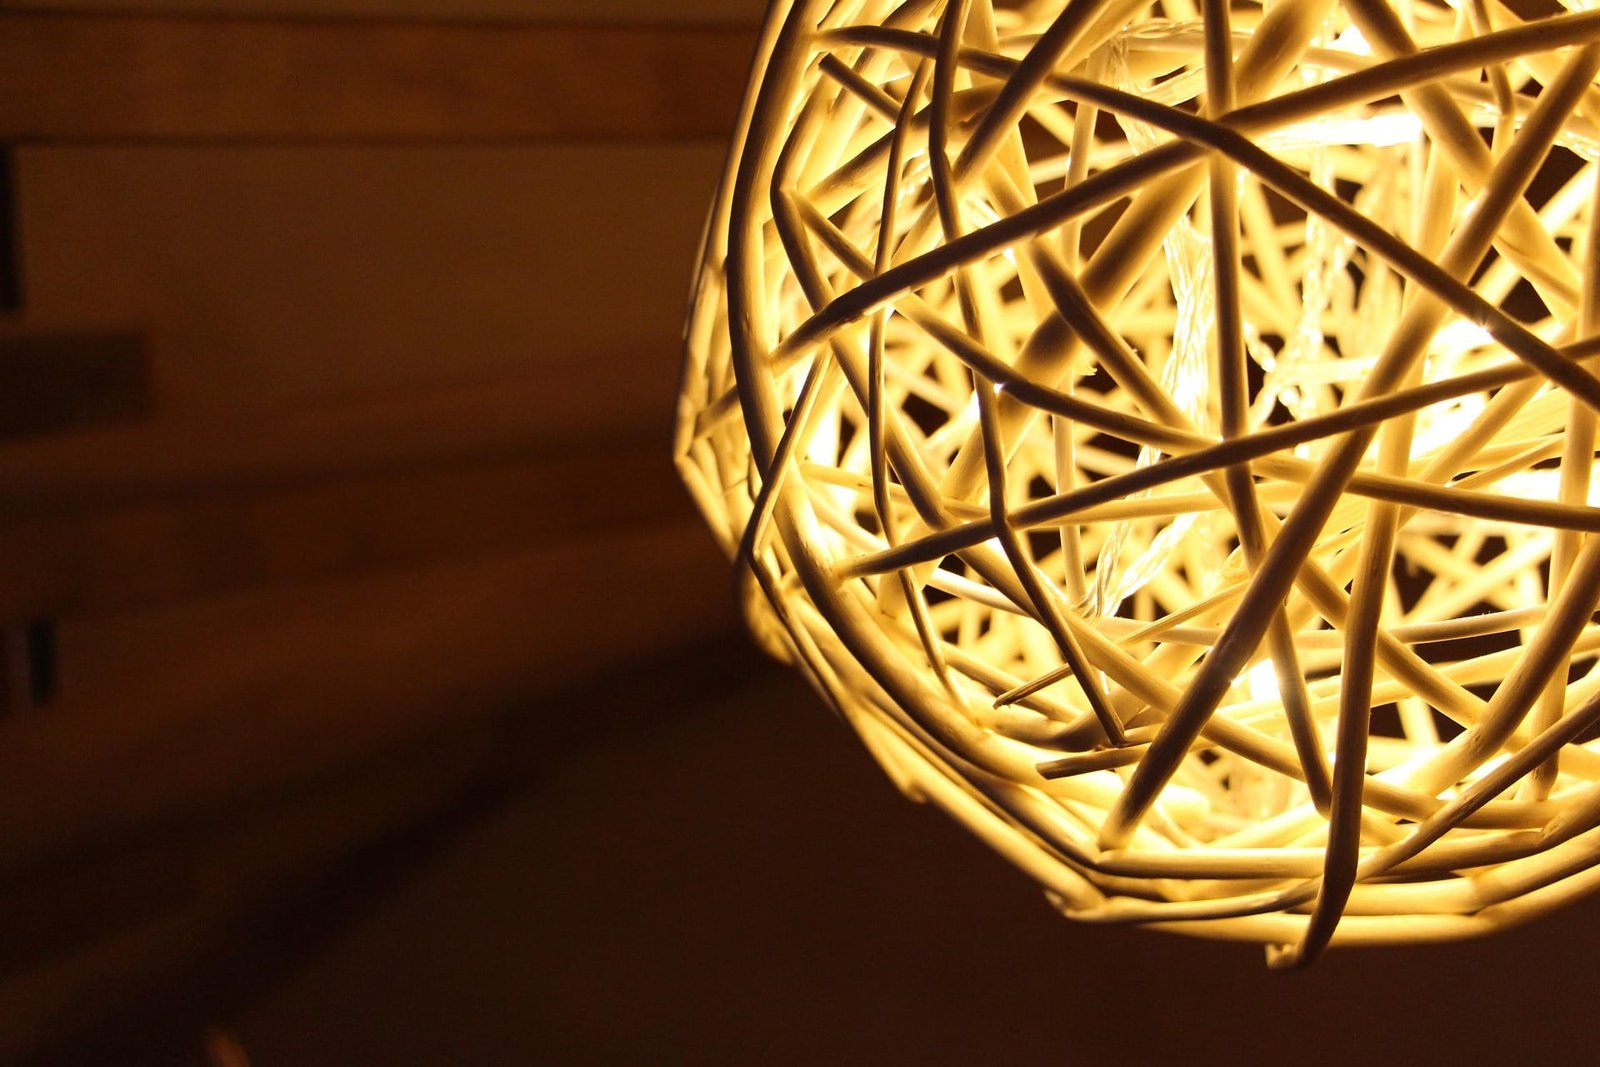
Discover the joy and creativity of making your own LED string lights. Whether you’re lighting up your backyard or adding a cozy glow to your indoor space, this guide walks you through every step of the process. From selecting the right materials to assembly, we’ve got you covered.
Producing LED string lights involves selecting LEDs, wiring, and power sources, then assembling these components. Start with designing your light pattern, then solder or twist LEDs to the wire, ensuring proper spacing. Finally, connect to a power source for a dazzling display.
Let’s dive deeper into the materials and steps needed to bring your LED string lights to life.
Understanding the LED Manufacturing Process
LEDs, or Light Emitting Diodes, are made through a sophisticated manufacturing process that involves semiconductor materials. These materials are essential because they determine the color and efficiency of the LED. The process typically includes the following steps:
- Material Preparation: The base materials for LEDs are compound semiconductors, which include elements from groups III and V of the periodic table, such as gallium, arsenic, and phosphorus. These materials are purified and prepared for the growth process.
- Wafer Fabrication: The semiconductor materials are grown in a high-temperature, high-pressure chamber. A technique known as epitaxial growth is used to deposit layers of these materials on a substrate, forming a wafer. This wafer will contain many LEDs.
- Doping: To create a diode, the semiconductor layers must be doped with impurities. This involves introducing small amounts of other elements to create an excess of either electrons (n-type) or holes (p-type), which are the absence of electrons. The interaction between these two layers when voltage is applied is what produces light.
- Wafer Processing: Once the wafer is created, it undergoes further processing, including etching and coating, to define individual LEDs and to protect them.
- Testing and Binning: Each LED is tested for color and brightness. LEDs are then sorted, or “binned,” based on their performance characteristics. This ensures that LEDs in the same product line will perform uniformly.
- Packaging: The individual LEDs are then packaged, which includes mounting the LED on a frame, attaching wires for electrical connection, and sometimes adding a lens to shape the light output.
This process showcases the technological marvel behind the creation of LEDs, making them not only efficient light sources but also versatile in their application, from lighting homes to forming the basis of our DIY string lights project.
By understanding the LED manufacturing process, enthusiasts can appreciate the complexity behind these seemingly simple devices and make informed decisions when selecting LEDs for their projects. This knowledge ensures the creation of LED string lights that are not only beautiful but also durable and efficient.
Gathering Your Materials
Before you dive into the assembly of your LED string lights, having all the necessary materials at hand is crucial. This section outlines everything you’ll need to bring your lighting project to life, ensuring you choose high-quality components for the best results.
Essential Components:
- LEDs: Choose LEDs based on color, brightness, and power requirements. LEDs come in various sizes and luminosities, so consider the ambiance you want to create.
- Electrical Wire: Opt for insulated, flexible wire suitable for the voltage of your LEDs. The gauge of the wire should accommodate the current your string lights will draw.
- Power Source: Depending on your project’s scale and location, you might use batteries (for portability) or a plug-in power supply. Ensure the power source matches your LEDs’ voltage.
- Soldering Iron and Solder (Optional for soldering connections): If you’re comfortable with soldering, this will provide a more durable connection. Alternatively, consider solderless connectors for ease of use.
- Wire Strippers and Cutters: Essential for preparing your wires and ensuring clean cuts and strips.
- Heat Shrink Tubing or Electrical Tape: For insulating soldered connections, especially if your string lights will be used outdoors.
- Connectors (Optional): For easy assembly and disassembly, you might use connectors between sections of your string lights.
Additional Tools and Materials:
- Multimeter: To test connections and ensure the integrity of your circuit.
- Lighting Controller (Optional): If you want to add effects (like dimming or flashing) to your LED string lights, a controller can be integrated into your design.
- Mounting Clips or Adhesive Strips: Depending on where you plan to install your string lights, you might need something to secure them in place.
- Protective Gear: Safety glasses and gloves, especially when soldering or handling electrical components.
Tips for Selecting Quality Components:
- Research: Look for reviews or recommendations on specific brands or types of LEDs and power supplies.
- Compatibility: Ensure all components are compatible, especially in terms of voltage and current requirements.
- Durability: If your LED string lights will be outdoors, consider weather-resistant LEDs and insulated wires.
Gathering your materials is the first step towards creating beautiful, custom LED string lights. By choosing quality components and preparing adequately, you’ll ensure your DIY project is both successful and satisfying.
Designing Your LED String Lights
The design phase of your LED string light project is where creativity meets functionality. This section will guide you through conceptualizing and planning your LED string lights, ensuring they perfectly fit your intended space and aesthetic.
Conceptualizing Your Design:
- Purpose and Placement: Determine where you’ll place the string lights (e.g., around a patio, along a wall, in a jar) and what purpose they’ll serve (e.g., ambient lighting, decorative, functional).
- Pattern and Layout: Sketch the pattern you envision. Consider straight lines, draped effects, or specific shapes.
- Measuring Your Space: Measure the length of the area where you’ll install the lights. Factor in extra length for draping or winding around objects.
Calculating LED Spacing and Quantity:
- Spacing: Decide how far apart you want each LED. Closer LEDs provide more continuous light, while wider spacing offers a more dotted effect.
- LED Count: Based on your spacing and the total length, calculate the number of LEDs required. For instance, if you’re placing LEDs every 6 inches on a 10-foot wire, you’ll need 20 LEDs.
Selecting Colors and Brightness:
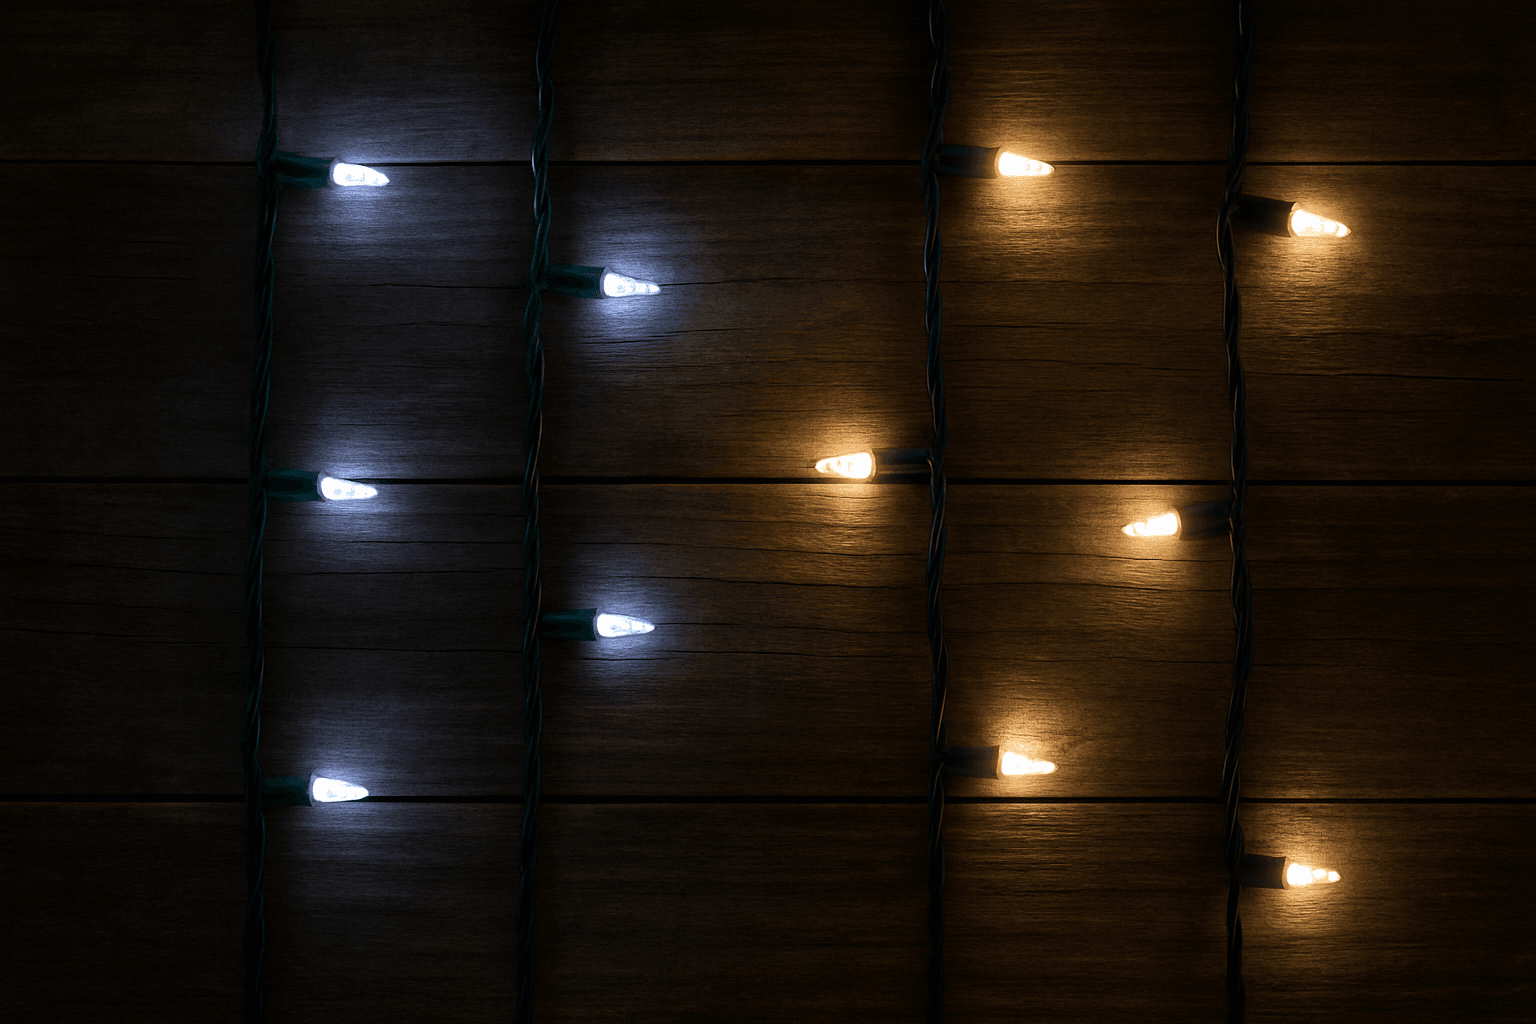
- Colors: LEDs come in various colors. Choose one that complements your space or go for multi-colored LEDs for a vibrant effect.
- Brightness: Consider the brightness (lumens) of your LEDs. For subtle ambient lighting, lower brightness is ideal, while higher brightness is better for functional lighting.
Planning for Power and Control:
- Power Requirements: Calculate the total power requirement based on the number and type of LEDs. Ensure your power source can handle the load.
- Control Options: If you want to control brightness or effects (like blinking), plan for a compatible controller.
Tips for a Harmonious Design:
- Balance: Balance brightness and color to create the desired mood.
- Integration: Consider how the lights will integrate with existing decor or lighting.
- Safety and Accessibility: Ensure power sources and controllers are easily accessible and safely installed.
Designing your LED string lights is a fun and creative process.
Step-by-Step Assembly Guide
Assembling your LED string lights can be a rewarding DIY project. Make sure you have all your materials ready from the previous steps.
Preparing Your Workspace:
- Safety First: Ensure your workspace is well-lit and ventilated. If you’re soldering, work in a space that can handle heat and fumes.
- Organize Materials: Lay out your LEDs, wires, tools, and other components within easy reach.
Step 1: Cutting and Stripping the Wire
- Measure and Cut: Based on your design, measure and cut the electrical wire to the desired length, allowing extra for connections.
- Strip the Ends: Use wire strippers to remove insulation from the ends of each wire segment.
Step 2: Attaching LEDs to the Wire
- Prepare LEDs: If necessary, trim the LED legs, leaving enough length for soldering or twisting.
- Attach LEDs: For each LED:
- Soldering Method: Tin the wire and LED legs, then solder each LED to the wire at the planned intervals. Ensure the polarity is consistent.
- Twist-On Method: Twist the LED legs onto the wire and secure them with twist-on wire connectors.
- Insulate Connections: Use heat shrink tubing or electrical tape to insulate each connection, especially if the lights will be used outdoors.
Step 3: Testing the Circuit
- Connect to Power Source: Temporarily connect the string lights to your power source.
- Test Each LED: Check that each LED lights up. If not, inspect and correct the connection.
Step 4: Final Assembly
- Secure the String: Use mounting clips or adhesive strips to position and secure your string lights according to your design.
- Final Connection: Permanently connect the string lights to the power source. If using a battery pack, attach it now.
- Add Controllers: If you’re using a controller for dimming or effects, integrate it into your circuit.
Safety and Maintenance Tips:
- Check Connections: Regularly inspect soldered or twisted connections to ensure they’re secure.
- Weatherproofing: For outdoor lights, ensure all connections are waterproofed and the power source is safe for outdoor use.
Powering Your LED String Lights
Once you have assembled your LED string lights, the next step is to choose and connect a suitable power source. This section guides you through selecting the right power option and safely integrating it into your lighting setup.
Understanding Power Requirements:
- Calculate Total Power Needs: Sum up the power consumption of all the LEDs in your string. This will determine the capacity required from your power source.
- Voltage Matching: Ensure that the voltage of your power source matches the voltage requirements of your LEDs. This prevents underpowering or damaging the LEDs.
Choosing a Power Source:
- Batteries: Ideal for smaller, portable string light setups. Batteries offer flexibility but have a limited lifespan and are best for lower-power LEDs.
- AC Adapters: For longer string lights or permanent installations, an AC adapter plugged into a wall outlet can provide a steady power supply.
- Solar Panels: If you’re environmentally conscious or installing lights in a sunny area, solar panels can be a great option. They require a battery to store energy for nighttime use.
Connecting Your Power Source:
- For Battery-Powered Lights:
- Connect the positive and negative leads from the battery pack to the corresponding wires of your LED string.
- Ensure secure and insulated connections.
- For AC Adapter:
- If necessary, use a DC converter to match the LED voltage.
- Connect the adapter to your LED string, ensuring polarity is correct.
- For Solar-Powered Lights:
- Connect the solar panel to a rechargeable battery.
- Link the battery to your LED string, observing correct polarity.
Safety and Maintenance:
- Inspect Connections: Regularly check the power connections for signs of wear or damage.
- Waterproofing: For outdoor installations, ensure all power connections are waterproof.
- Avoid Overloading: Do not exceed the power capacity of your source, as this can lead to overheating or electrical hazards.
Tips for Efficient Use:
- Use a Timer: To conserve power, especially for battery or solar-powered lights, consider using a timer to control when the lights are on.
- Regularly Replace Batteries: If using batteries, keep spares handy and replace them regularly to maintain brightness.
Want to make sure your LED string lights work great and stay safe? Just pick the right power source and keep these handy tips in mind. With a little care, you can really make your custom lighting shine!
Customization Tips for Outdoor and Indoor Settings
Want to give your spaces a new vibe? Custom LED string lights are the way to go! They’re perfect for sprucing up your garden patio or making your living room extra cozy. Let me share a few cool tips to help you tweak those lights just right, whether you’re lighting up outdoors or indoors.
Outdoor Customization Ideas:
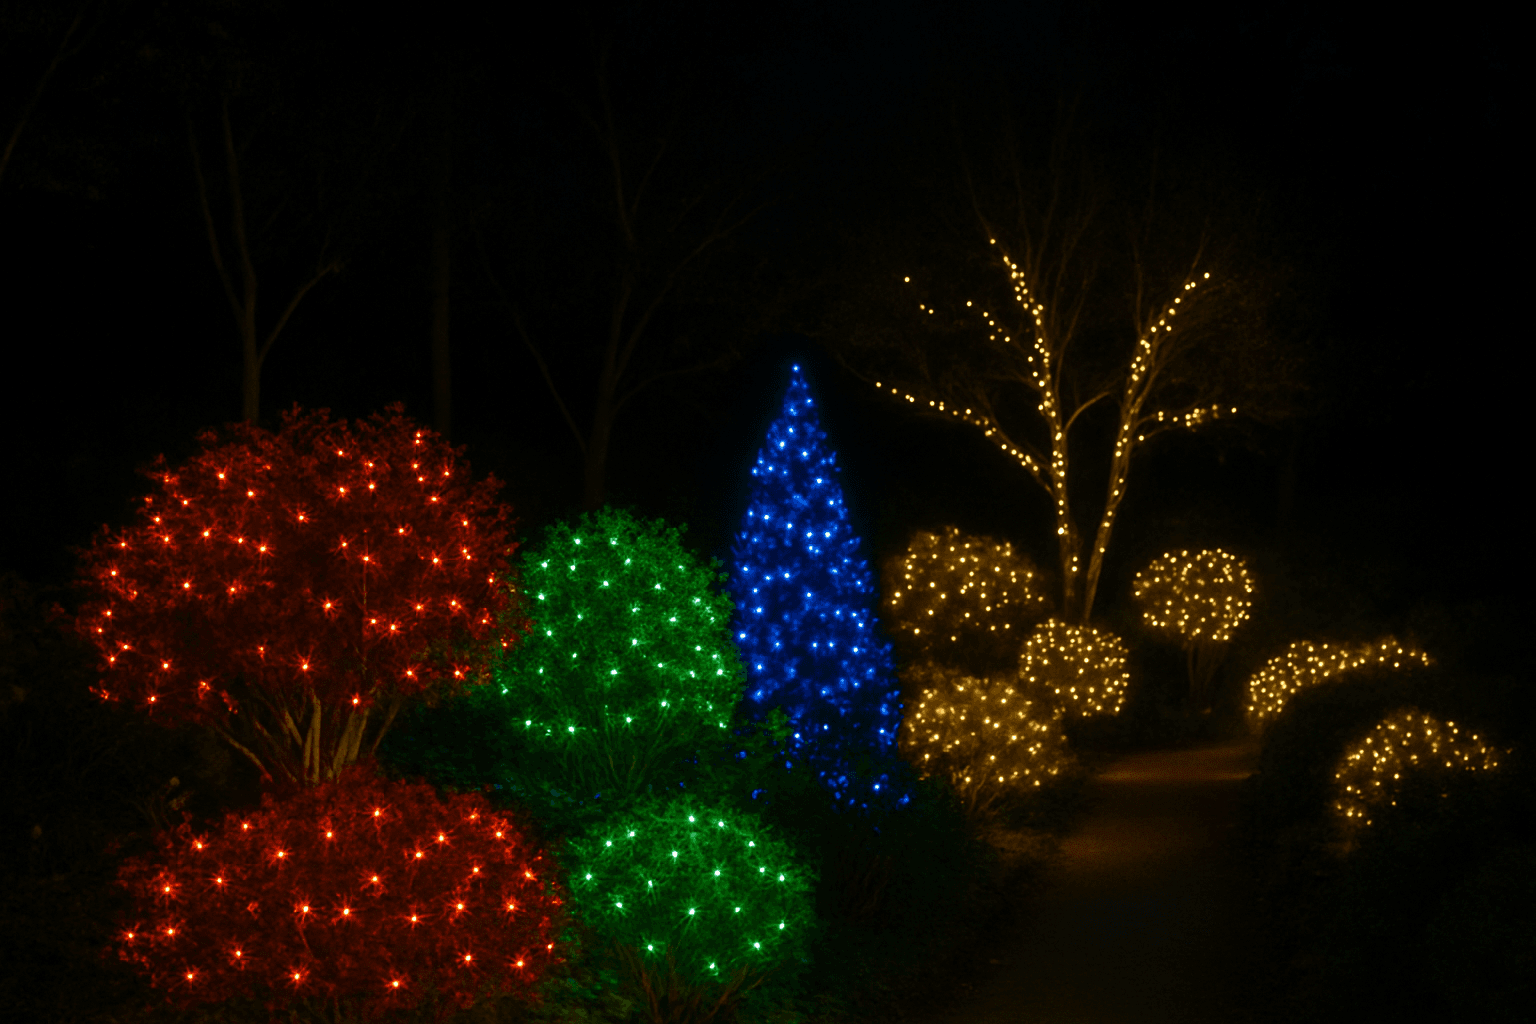
- Color Themes: Choose LED colors that complement your outdoor environment. Warm whites for a cozy feel, or vibrant colors for festive occasions.
- Weather-Resistant Materials: Use waterproof LEDs and coverings to protect your lights from the elements.
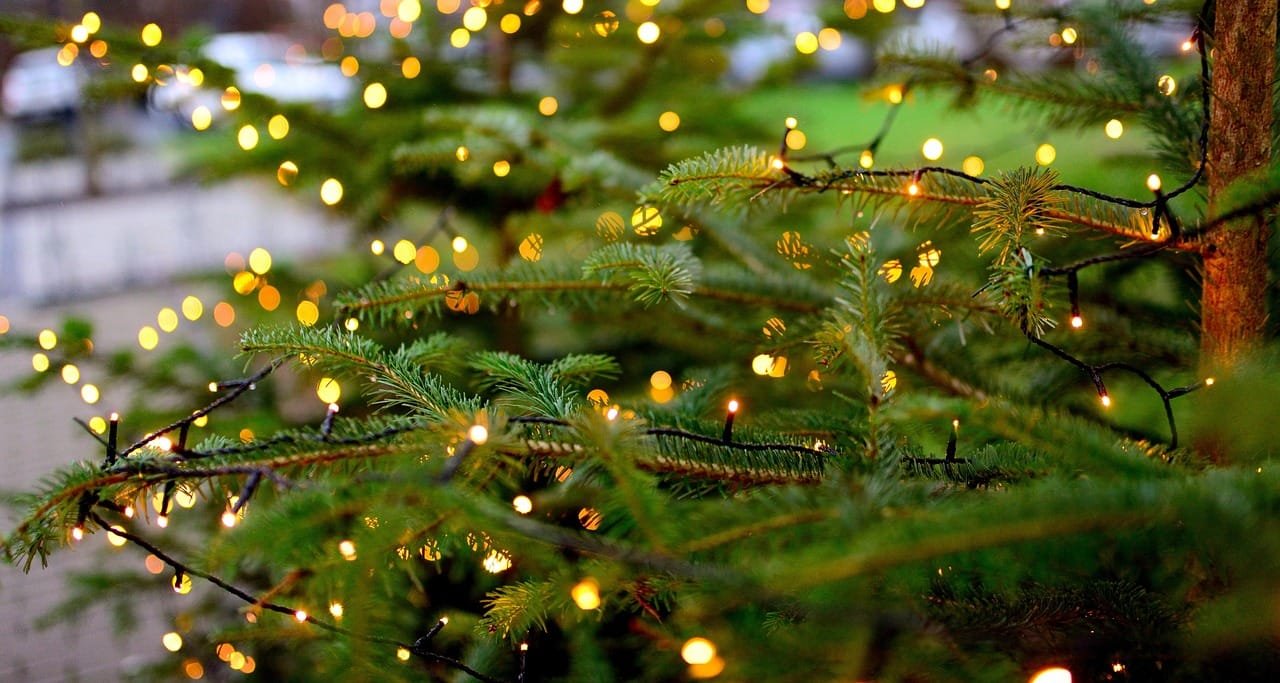
- Incorporating Nature: Weave lights through trees, along fences, or around garden features for a magical effect.
- Solar Options: For eco-friendly outdoor lighting, solar-powered LEDs are a great option. They’re sustainable and reduce energy costs.
Indoor Customization Tips:
- Mood Lighting: Use dimmable LEDs to adjust brightness and create different moods in your room.
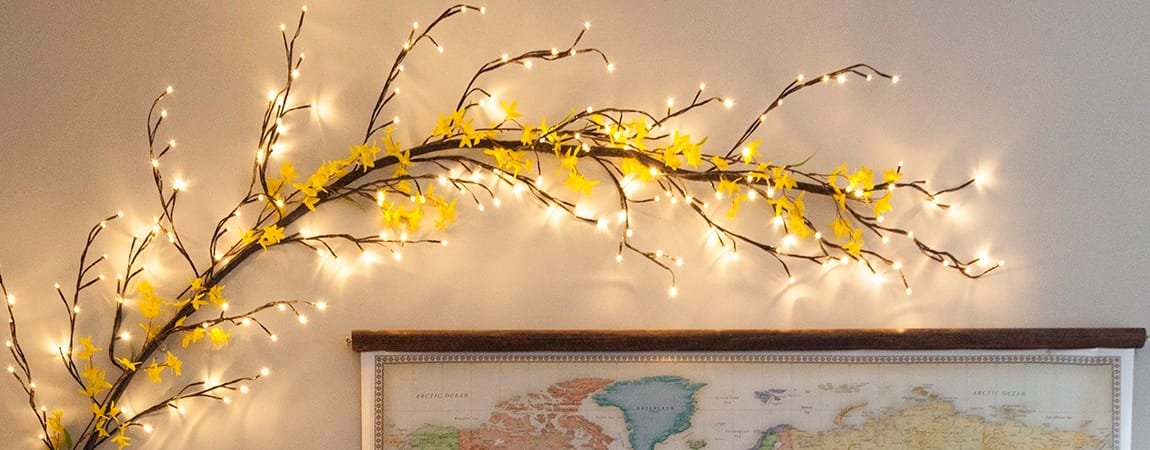
- Decor Integration: Integrate lights with existing decor, such as draping them around mirrors, artwork, or bookshelves.
- Color Coordination: Match the LED colors with your interior color scheme for a harmonious look.
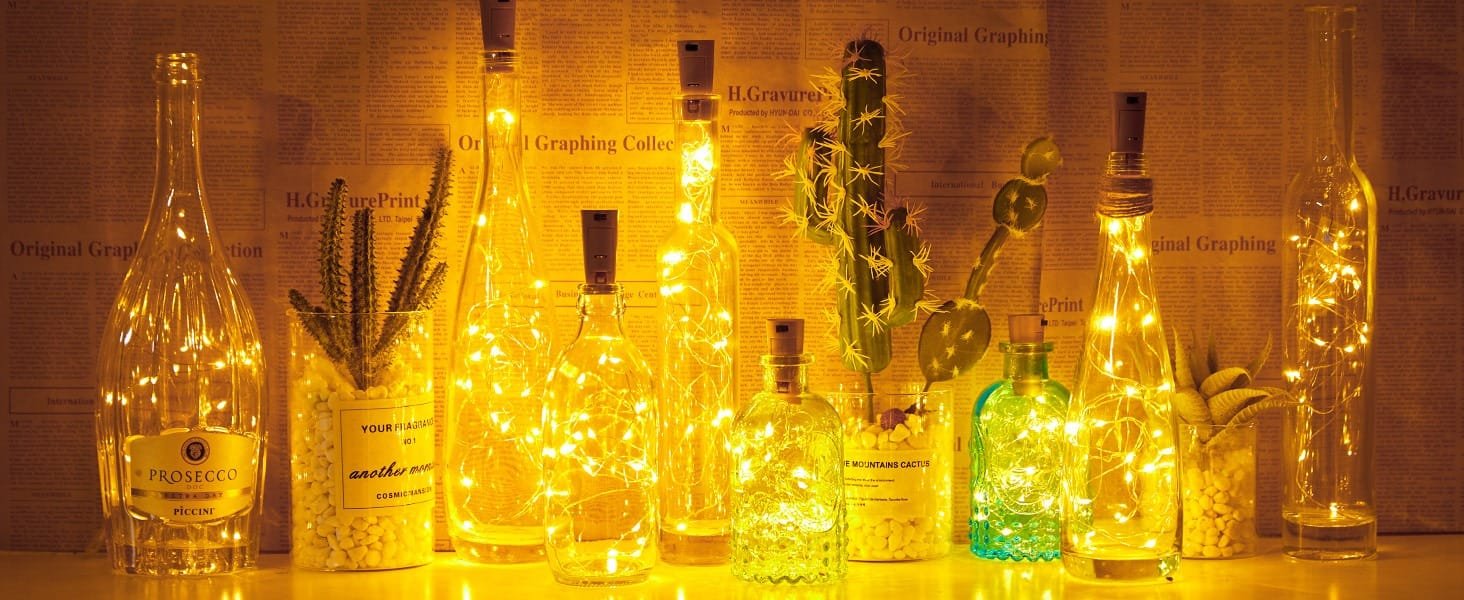
- DIY Light Fixtures: Create unique light fixtures by combining LED string lights with items like mason jars, lanterns, or handmade shades.
Safety Considerations:
- Avoid Overheating: Ensure LEDs are not covered with materials that could overheat.
- Secure Installations: Properly secure string lights to prevent them from falling or getting damaged.
Enhancing Ambiance:
- Layered Lighting: Combine string lights with other light sources for a layered lighting effect.
- Themed Decorations: Use string lights as part of themed decorations for holidays or parties.
Interactive Elements:
- Smart Controls: Integrate smart controllers to change light colors or patterns with your smartphone.
- Motion Sensors: For outdoor lights, consider adding motion sensors for both convenience and security.
Get creative with your LED string lights! It’s all about adding your personal touch to light up your space just the way you like it. Whether you’re jazzing up your living room or your backyard, these tips are your go-to for making your lighting not just practical, but also super stylish. Ready to play around and see what awesome setups you can come up with?
Maintenance and Safety Tips
Keeping your LED string lights in top shape and safe to use is super important, whether you’re using them for special occasions or as everyday decor. Don’t worry, I’ve got some easy tips to help you take care of them. This way, you can keep them glowing bright and safe, no matter where you hang them!
Regular Check-Ups:
- Look for Damage: Always keep an eye on your lights for any wear or damage, especially after rough weather if they’re outside.
- Clean Them Up: A quick, gentle clean can keep your LED lights shining bright and working right.
Electrical Safety 101:
- Connections Matter: Make sure all electrical connections are snug and secure to avoid any risky mishaps.
- Watch the Load: Hooking up a bunch of lights? Just be sure not to overload your electrical circuits.
Staying Safe Outdoors:
- Weatherproof Everything: Outdoor lights and connections need to be weatherproof to stand up to rain and more.
- Install Them Right: Make sure those lights are securely in place to withstand wind and curious critters.
Indoor Safety Tricks:
- Stay Away from Flammable Stuff: Keep lights clear of anything that can burn, like curtains.
- Support Them Properly: Use hooks or clips for your lights, not nails or staples that might damage the wires.
LED-Specific Tips:
- Replace Dead LEDs: Swap out any LEDs that stop working to keep the whole string happy.
- Cooling is Key: LEDs can get hot, so make sure they have enough air to cool down, especially the powerful ones.
Eco-Friendly Moves:
- Smart Timers/Sensors: Save energy and extend your LED’s life with timers or motion sensors.
- Recycle the Oldies: When it’s time to say goodbye, remember to recycle your old LEDs.
Keeping Kids and Pets Safe:
- Out of Reach: Place your lights where kids and pets can’t get tangled up in them or get shocked.
- Beware of Small Parts: Small bits can be a choking hazard, so keep an eye out.
So, with these easy maintenance and safety tips in your back pocket, you can kick back and really enjoy the lovely glow of your LED string lights. Rest easy knowing they’re not just making your space beautiful but also running safely and smoothly!

